09 February 2012

Zig Zag Cat Magnet


I'd say that this zig-zag quilt the first one that I consciously planned for and made.  Unlike my first quilt, I deliberately chose the fabrics and the design for this one.  It was really the first time I saw a quilt and said, "I want to make THAT!" and did it.

The fabrics are various feedsack and 1930's reproductions.  Although I've moved towards more modern fabrics since then, I still have a major soft spot for these cheery prints, and hope to incorporate more of them into my work these days. The white strips are Kona Snow.

I used a great tutorial  on the Bee Square Blog by Crazy Mom Quilts.  I really like how it's made of rectangles, not triangles.  Perfect for a beginner!


It's bound in a sweet red and yellow 30's floral.


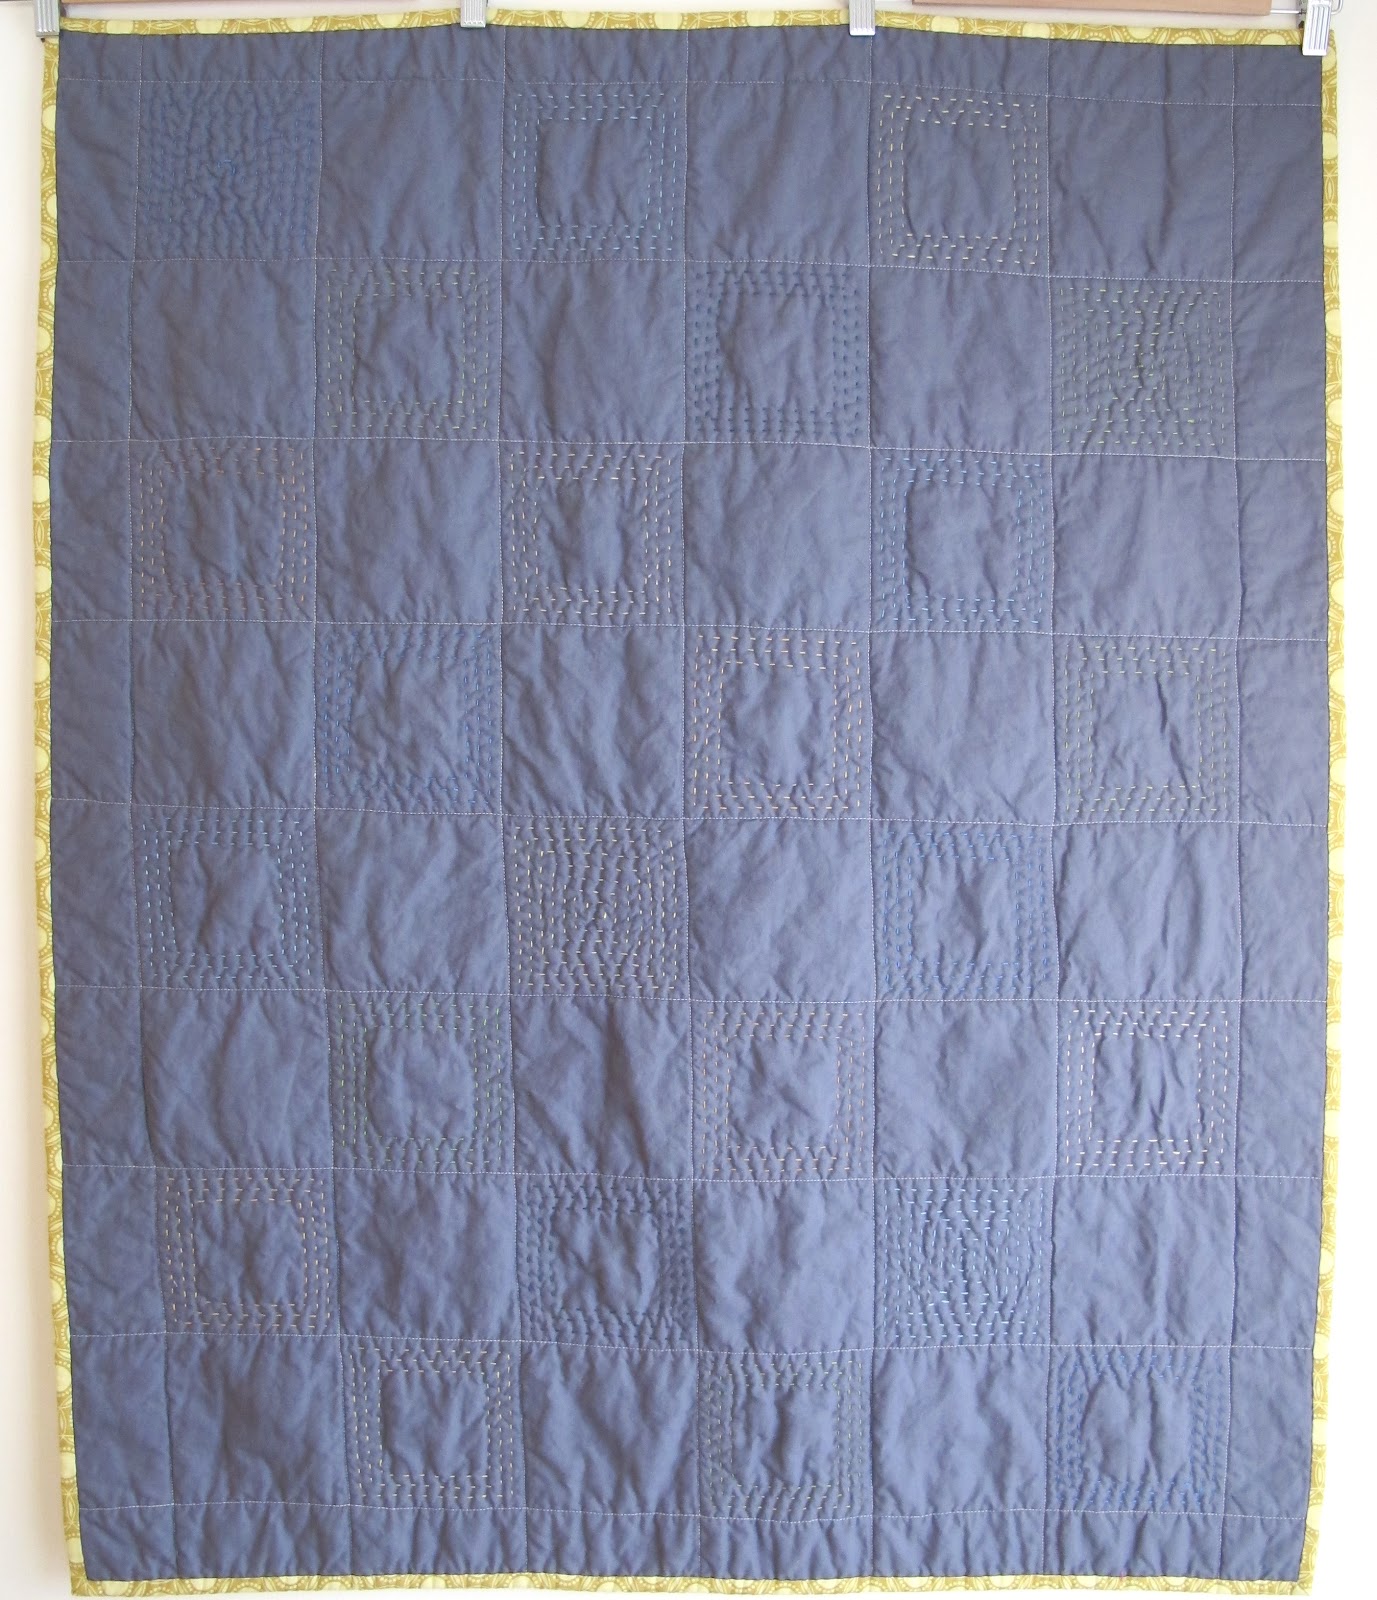
I pieced a double line of scraps into the red dot backing, which might be my favorite part of this quilt!


I echoed the patchwork with hand-quilting zig-zag lines on the white fabric about 1/4 inch away from the seams.  


It measures about 45 by 60 inches, which is a little too small for a human adult, but just perfect for smaller creatures. This quilt the floor (or anywhere else, really) is a cat magnet! He just can't stay away. He also enjoys being in photographs.  


Pin It!

07 February 2012

Patchwork... Without the Patchwork


This baby-sized project is a whole cloth quilt, meaning that there are no pieced elements-- just one piece of Kona Snow for the front, and Kona Coal for the back. I loved having a blank slate for a bunch of hand-stitching, and the time to just sit and stitch away! It's a perfect winter project.  


My inspiration?  Staring at full boxes of embroidery floss, arranged in perfect order, and just needing to do something to showcase the color possibilities offered.  I wanted to experiment with a quilt where the stitching, not the fabric, would become the focus.  


I sandwiched the two pieces together with some batting and machine-quilted a 5-inch grid.  Then, I set about filling every other block with squares of hand-stitching in green, gold, aqua and blue tones. 


It's patchwork without the actual patchwork!  The hand-stitching provides both design and texture. I think it's the most deliciously textured quilt (or other item, for that matter) I've ever made.

I just want to squeeze it! 

I think it's very simple and modern, but also intricate and interesting.  Subtle.  It was very refreshing to work on this quilt, free from prints, with a limited palette.  

Because the stitching shows up on both sides, it's pretty much reversible, too.  


It's bound with a gold print from Heirloom by Joel Dewberry.  I like the contrast of the print against the solids, and how it coordinates with the stitching.  


What to call this... post-modern quilting?  Deconstructed patchwork?  This quilt is a little philosophical. To me, it is a real fusion of modern and traditional quilting, and I hope to make more like it.  

This one's in the shop.  

Pin It!

05 February 2012

Favorite Tutorials: Quilt Binding

I hope to be able to share more of my own tutorials here, but there are p l e n t y of amazing tutorials already out there that really have really helped me, not only to learn the basics, but also to experiment with different variations and ways to do the same thing, such as how to bind a quilt.

My very favorite part of making a quilt is hand-stitching the binding on-- the last step! I love seeing a finished, framed quilt emerge from a slightly bedraggled, stringy, unfinished rectangle. I think it's totally underrated, and there are lots of different ways to do it, with different effects.

Here are some of the best quilt binding tutorials that I've used along the way.


How much binding fabric do you need? This post at Crazy Mom Quilts explains with non-scary math.  This is the first binding tutorial I ever used, and also the method I've stuck with! It takes you all the way through, from cutting to hand-stitching the binding on.

You can also attach binding completely by machine, but it's not my thing.  I'd miss out on too much snugly couch time. Err, also, you have to measure and sew a little more carefully.  


Bias binding can be scary-- fabric is cut diagonally across the grain, which supposedly yields a more durable binding, as the threads are going in different directions and resist wear. It also looks cool, especially with stripes. There are many ways to do it, but my favorite is continuous bias binding, illustrated well in this post at Stop Staring... and Start Sewing!. Note that it instructs you to mark the fabric with lines 1 3/4 inches apart-- you'll want more like 2 1/2 or 2 1/4 inches for quilt binding, like in this tutorial from Quilting Nanny.

This nifty page will tell you how much fabric you'll need to start with based on the size of your quilt. Other pages I've found only give you calculations for starting with a square, and I like how this allows you to use the entire width of fabric.

In case you have a scrap to use, though, here's a rule of thumb  for starting with a square, and how much that square will yield.

Right now my favorite width to cut my binding is 2.25 inches-- I like the narrow and snug result.


If you had a priceless photo, wouldn't you add some matting when you framed it? Julie at Jaybird Quilts tells you how to add a flange to your quilt binding!


To make adorable rounded corners, just use a plate (or any other round object you like) to trace and cut a curve.  This tutorial from That Girl... That Quilt shows it nicely.  Rounded corners require bias-cut binding, be warned.  It's nice and stretchy and won't wrinkle up when you sew around the curves.

You can make a quilt or quilted project without binding at all, that's just fine.  It requires a little planning and coordinating with your quilting-- you finish the edges before sewing your quilting stitches.

Any way you do it, you'll end up with a nice, finished project when you're done!

Pin It!

02 February 2012

Flexibility

I've always been not-so-secretly afraid to try a Dresden; they can involve some scary things like templates, applique, and circles.  I'd admired them from afar, but never attempted one.  Fortunately for me, Esther challenged us to make one! Back in November, our assignment for the Neutral and Not quilting bee was a traditional Dresden plate block, done up modern in chocolate and grass green fabrics.

To get my bearings, I used this tutorial at Sew, Mama, Sew from Elizabeth Hartman, and this one at Stitchery Dickory Dock.  Since I didn't want to waste any of Esther's fabric, I decided to make a practice block, and wound up using the templates provided at Sew, Mama, Sew. Ever thrifty...err, I mean, self-reliant, I printed them on regular paper and used a glue stick to attach the paper to a file folder, and just cut them out, ready to use.

I followed all the directions, sewed my scantest 1/4 inch, but the ring of 20 pieces wouldn't lay flat. At all. I'm not big on seam-ripping, so I tried re-sewing some of the seams, being a little more generous on the seam allowances.

No luck.

It just seemed that the ring wanted to be crimped, in a way.  So I took out a petal. Sewed it back up.  No big deal. Totally flat! Still looked fancy! Can't even tell there's a "missing" piece.

I think this says a lot about my approach to sewing and quilting. If I adhered to directions too closely, torturing myself over each imperfection, trying to do everything by the book, I would have no fun.

No fun at all.

You could call it stubborn independence or laziness, but I prefer to think of it as flexibility--being easy on myself and what I make, not sweating the small stuff.


I LOVED how this practice, missing-petal-ed Dresden turned out, so I made it into a quilted pillow, stitching it to an 18.5-inch kona snow background, complete with a batting layer for squishyness, straight quilting lines radiating out from the center, some hand-stitched details, and a solid kona aqua binding.

I used some upholstery-weight white cotton canvas to make an envelope closure in the back.

I also took advantage of the sole two embroidery stitches in my repertoire: straight up-and-down, and the french knot. They add the most delicious texture, making the Dresden even more like a flower!

By the time I finished this, I tackled the Neutral and Not block without hesitation. It emerged with all 20 petals intact.
Dresdens aren't scary.  They're awesome.

31 January 2012

The Lone Starburst

One of my favorite Flickr quilting bee "genres" are the sampler quilt bees: the 3 x 6 Sampler Quilt Mini Bee and its cousin, the 4x5 modern Quilt Bee.

You make 5 (or 6, depending on the bee) blocks (of your own choice) in colors requested by your beehive-mates. You mail them out, and pretty soon packages arrive from your hive: blocks for you, in your colors, dreamed up by them. I love the creativity these bees inspire in all members, and I've been able to challenge myself and have a lot of fun!

This past quarter, I looked through my flickr favorites and decided to do something like this block by Johanna for 3x6, but scaled up a bit and made into a square.

I thought it would be perfect for paper-piecing, but I couldn't find a template anywhere that looked anything like it. I've also seen something similar called a Connecticut Star, but couldn't find one of those either.  So, I drafted my own with some graph paper and my quilting ruler, and photocopied away.

If you've done a fair amount if paper-piecing, I'm sure you can do the same!  However, after going through some intense photoshop trial-and-error, digital templates are here via via Google Doc.  It's called the Lone Starburst, since it has the basic shape of a traditional Lone Star quilt.  Print four at 100% for a 12.5-inch unfinished block.

Edit: Printing Tips! Google docs isn't the best for templates, so I'd recommend downloading/saving the template to your computer, then opening it with your usual PDF viewer (adobe, preview, etc) to print from there. Make sure that scaling is set to 100% or "none"' (so your comp doesn't try to "fit" it to a page), and measure the 1 inch scale line once printed to make sure it's exactly an inch, no more, no less!  Also, you can measure the edge of one of the templates to make sure it measures 6.5 inches, including the gray seam allowances. 


It's versatile! One of my favorite parts of sampler bees is that you can try out all different color arrangements.  I found that I liked the look of this block best when I choose a fabric with a lot of contrast for the skinny 1/4-inch star outline, which makes the most of the design.

By switching up the values, you can go monochromatic.

This scrappy one is just delicious.  In this case, I used white for the 1/4-inch outline, and mostly tried to alternate warm and cool colors.

Thanks to my friend Moni for inspiring me to do this on my own.  She drafted up a version that's a bit bigger (less background space), which is available via her blog.


Pin It!

30 January 2012

Staying In

Most times, I'm convinced, it's better to Netflix it than go to the theater.

5. The bathrooms are much cleaner.

4. You can wear any old pajamas you want. Even with holes in them.

3. They don't have curry powder to put on your $8 popcorn at the theater.  Nor do they have homemade kettle corn. What a shame.

2. Two words: Pause. Button.


1. Most important, they don't provide quilts at the movies. It can get cold in there. 


27 January 2012

"It's a Hoot" Improv Baby Quilt

Owls. Flowers. Trees. Dots. What's not to love?! I fell hard for the "It's a Hoot" by Momo line of fabric from Moda.  I thought it would be perfect for some improvisational quilting.  

I sliced up a half yard of the big-scale print, isolating the "scenes" in various sizes. Then, I left some of the scenes as-is (center and top right), and cut up others to make window-like patchwork blocks with strips and scraps.

Improv blocks are really the MOST fun.  No measuring, no strict planning, just cut, sew, press, trim, and cut again! It is very spontaneous, and you never get the same thing twice.  

However, a good amount of planning and and measuring does go into selecting the layout and arranging the blocks in a way that looks good and lines up to a squared-up shape.  For this quilt, once I arranged the blocks, filled in extra space with a Kona Ash solid and fit them together like a puzzle.  

For the backing, I used a leftover improv block and some extra fabric, pieced with more ash. 


It is machine-quilted in random square zig-zag lines that go around the blocks, and has some hand-quilting to echo designs in the bigger scenes.  


The quilt measures about 35"x45", the perfect size for a baby, and is bound with a tiny squares pink print from the line and some kona coal as a flange.  I really love the way it frames the quilt, almost like matting on a framed photograph.  The contrast of tiny coal line also brings some order to a pretty crazy quilt.

This little number has been snuggled up with its baby owner for quite some time.