I've always been not-so-secretly afraid to try a Dresden; they can involve some scary things like templates, applique, and circles. I'd admired them from afar, but never attempted one. Fortunately for me,
Esther challenged us to make one! Back in November, our assignment for the
Neutral and Not quilting bee was a traditional Dresden plate block, done up modern in chocolate and grass green fabrics.
To get my bearings, I used
this tutorial at
Sew, Mama, Sew from Elizabeth Hartman, and this one at
Stitchery Dickory Dock. Since I didn't want to waste any of Esther's fabric, I decided to make a practice block, and wound up using the templates provided at Sew, Mama, Sew. Ever thrifty...err, I mean, self-reliant, I printed them on regular paper and used a glue stick to attach the paper to a file folder, and just cut them out, ready to use.
I followed all the directions, sewed my scantest 1/4 inch, but the ring of 20 pieces wouldn't lay flat. At all. I'm not big on seam-ripping, so I tried re-sewing some of the seams, being a little more generous on the seam allowances.
No luck.
It just seemed that the ring wanted to be crimped, in a way. So I took out a petal. Sewed it back up. No big deal. Totally flat! Still looked fancy! Can't even tell there's a "missing" piece.
I think this says a lot about my approach to sewing and quilting. If I adhered to directions too closely, torturing myself over each imperfection, trying to do everything by the book, I would have no fun.
No fun at all.
You could call it stubborn independence or laziness, but I prefer to think of it as flexibility--being easy on myself and what I make, not sweating the small stuff.
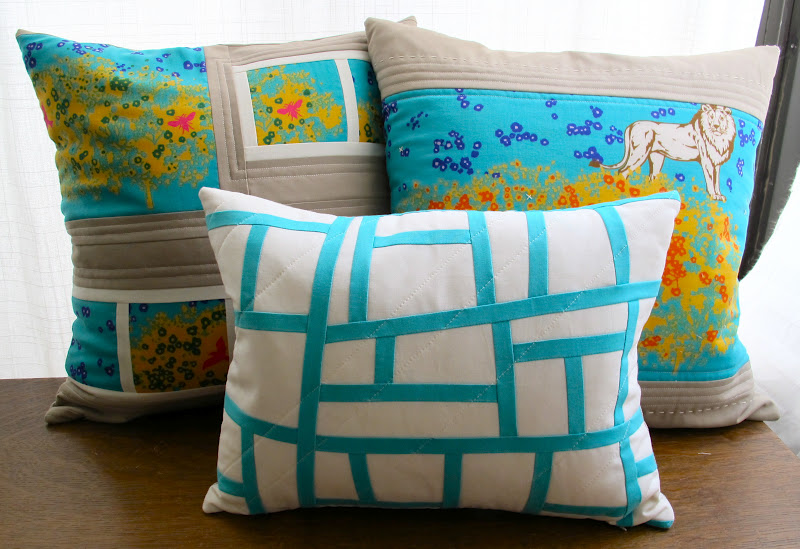
I LOVED how this practice, missing-petal-ed Dresden turned out, so I made it into a quilted pillow, stitching it to an 18.5-inch kona snow background, complete with a batting layer for squishyness, straight quilting lines radiating out from the center, some hand-stitched details, and a solid kona aqua binding.
I used some upholstery-weight white cotton canvas to make an envelope closure in the back.
I also took advantage of the sole two embroidery stitches in my repertoire: straight up-and-down, and the french knot. They add the most delicious texture, making the Dresden even more like a flower!
By the time I finished this, I tackled the Neutral and Not block without hesitation. It emerged with all 20 petals intact.
Dresdens aren't scary. They're awesome.